Allowing and Denying Access for Events
In this help article, we will be looking at how to prepare allow and deny lists within the streamGo platform. You can control who can/cannot register for an event by creating allow or deny rules based on email addresses or IP addresses. For example, you may allow your own company email address (e.g @streamgo.co.uk) for an internal event.
Contents
Definitions
Deny: Anybody can register other than those on the deny list (for example if you deny john@example.com anybody can register, however john@example.com cannot)
Allow: Nobody can register unless they are on the allow list. Please note, once an allow rule is created it must cover all people you wish to be able to register for the event. For example if you allow jane@example.com, then only jane@example.com will be allowed to register for the event.
Wild cards: These may also be used to create rules for a range of emails using the same domain, for example creating a rule for *@example.com would apply to any email address which ends in @example.com. Note, there must be a * included before the email domain.
Creating a Rule
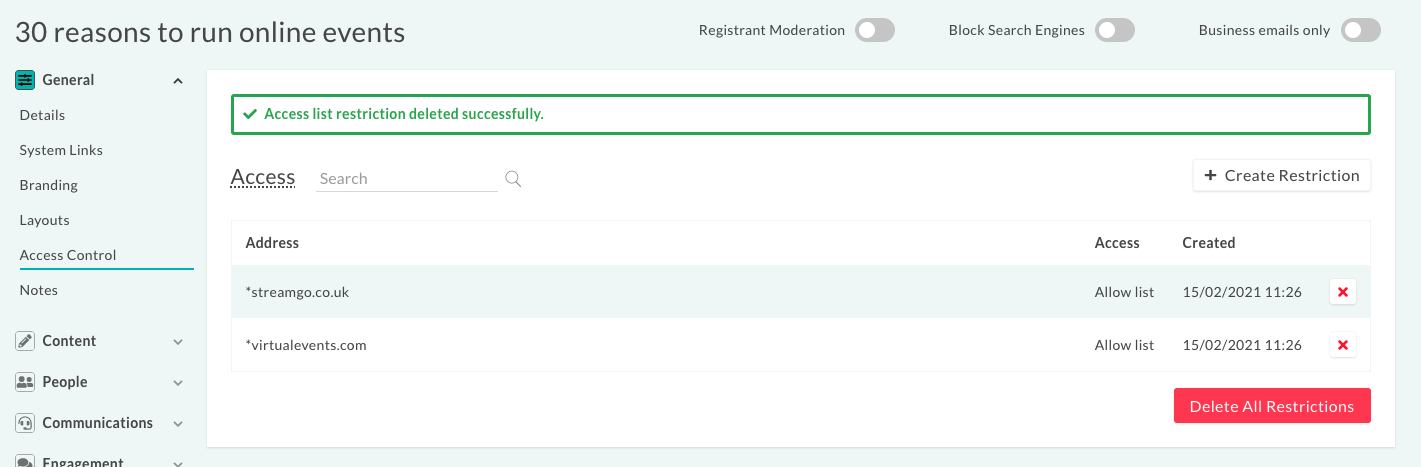
After clicking this button, you will see this popup menu as shown below. You can use this menu to either manually enter any rules you wish to apply or to bulk upload an allow or deny list. You may choose to bulk upload if you have a list you use again across all your events. To bulk upload a number of email or IP addresses you can upload these from a spreadsheet file. Create a spreadsheet with each email or IP address listed on a new line then drag it onto the area shown or click to select the file from your device. If you choose to manually enter email or IP addresses, do so separated by a new line. Remember, wildcard addresses must be enter as *@example.com - you need to include the asterisk. Here's a video to show you how to upload a spreadsheet to create a white or black list
