How to Approve Event Reminder Emails
Event reminder emails will automatically send at their scheduled time only if they have been marked as approved. Quickly and easily approve your event reminder emails and get your event up and running, here's how:
Note: You must be logged in using a Manager or Editor role to manage emails. Find out more about our user login types here.
1
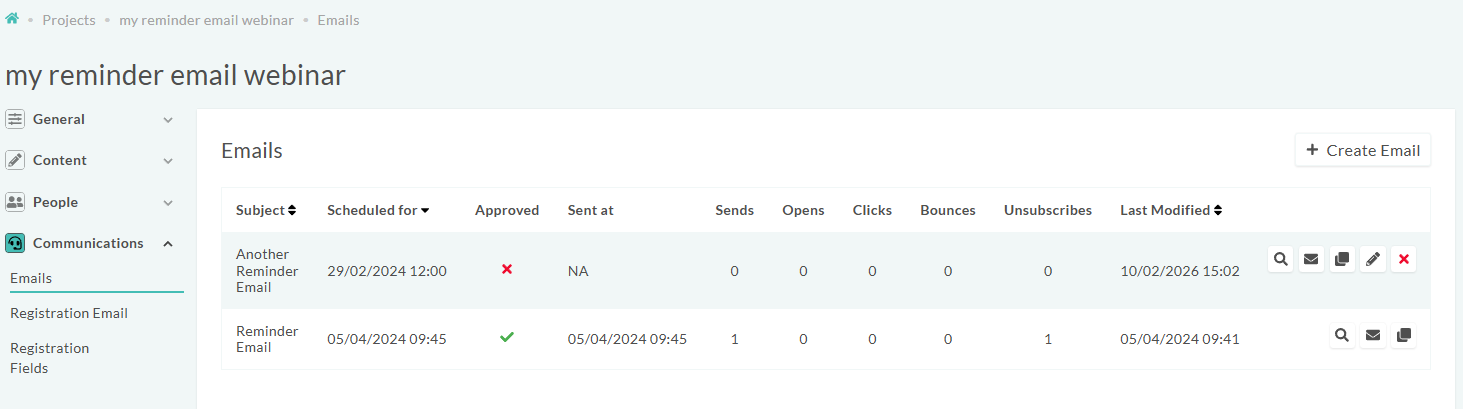
Navigate to the relevant project then under the communications menu on the left select "Emails". On this screen you can view the subject line and the date and time it is scheduled, the send date/time will be displayed in the timezone set to your user account. You can use the email icon to send a test version of the email to preview its content including test magic links.
 2
The Approved column will display a tick or cross indicating if an email has been approved for sending at it's scheduled time. Click on the pencil icon to edit the email and access these settings.
3
To approve the email use the toggle labelled "Approved" then click update email to save your settings. Now approved this email will automatically send at its scheduled send date and time.
2
The Approved column will display a tick or cross indicating if an email has been approved for sending at it's scheduled time. Click on the pencil icon to edit the email and access these settings.
3
To approve the email use the toggle labelled "Approved" then click update email to save your settings. Now approved this email will automatically send at its scheduled send date and time.
Note: This does not apply to registration confirmation emails. These are controlled in the Registration Email settings of the project and are either enabled or disabled.
