How to Upload a Poster Image
In this help article, we will take you through the steps required to upload a poster image for your session. The poster image is displayed behind the countdown in the build up to a live session. Here is an example of how the video player would look prior to an event, without a poster image.
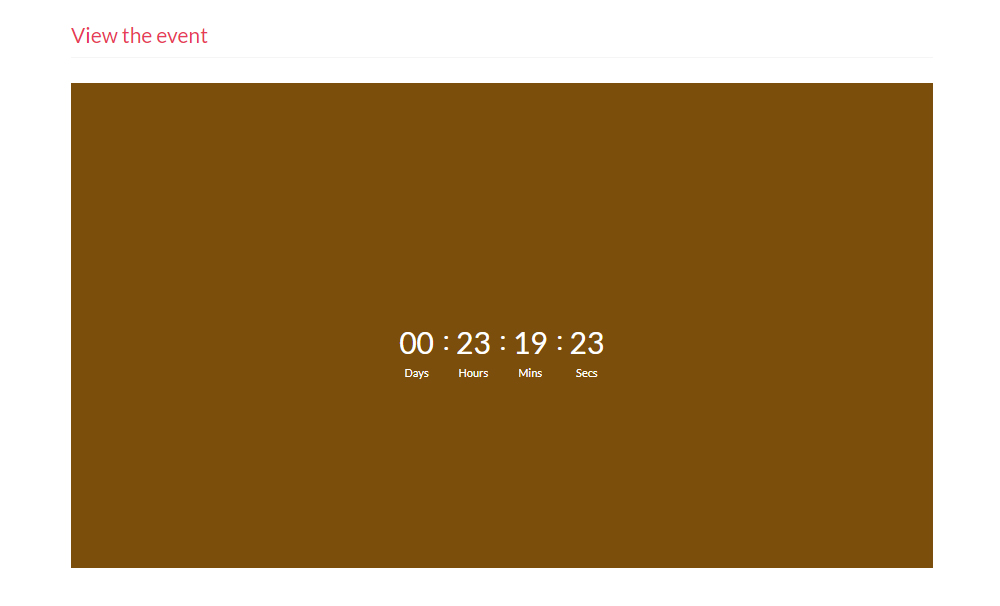
Note: You will need to be logged in as a 'Manager' or 'Editor' in order to upload or remove a poster image. Read more on user login types, here.
1
Select the relevant event and then, select the session you would like to upload a Poster Image for. Select the pencil icon or click the name of the session so that you can edit this.
2
Under the "General" menu on the left, select "Branding". Within the branding options is the area where you can upload your Video Poster. Select a JPEG, PNG or GIF image and upload this. You can also upload by simply dragging the file into the poster box. Once you have uploaded your image you can click Update Branding to save your changes.
3
Finally, you should now visit your session page via the attendee view so that you can check your file displays correctly. We recommend using an image that is a 16:9 ratio to fit the video player correctly. A good size to aim for is 1920px by 1080px.


