Adding Tags To Your Event
Why use tags?

If you are running multiple events as part of your project you can use tags to help users filter sessions in the agenda based on your tags. You can also Use tags to hide sponsors from the carousel or events from your agenda, useful for creating breaks which we go into detail about in this help article here.
Article Contents:
- 1
-
From within your project head to the page you would like to tag. From the menus on the left select Event Content > Tags.
-

- 2
-
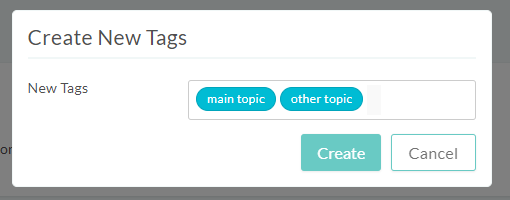
To create a new tag, click the button on the right, type the label you would like to use for your tag and press enter. You can create multiple tags at once pressing enter after each new tag, once you have created your desired tags click the create button to save them. Tags can be reordered by dragging and dropping at the project level to adjust the order they will show on attendee pages.
-
- 3
-
If you already have existing tags in your project you will see them in this area where you can click to assign them to this event or page.
- 4
-
Once you have assigned tags to events you will see these tags availible as filters on the agenda page. Attendees can then use these to filter events based on your tags.
How to Create or Assign Tags


Useful Tags
You might find the following tags and their functions useful:
| Tag | Function |
|---|---|
| no-page | Stops the event being clickable from the agenda page |
| no-ca | Disables the ability for Attendees to add the event to their custom agenda |
| no-carousel | Used on Sponsor pages to hide them from the sponsor carousel |